
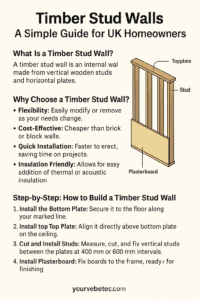
Timber Stud Walls: A Simple Guide for UK Homeowners
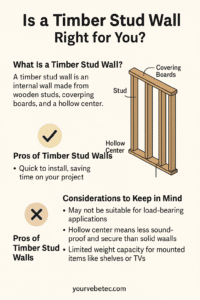
What Is a Timber Stud Wall?
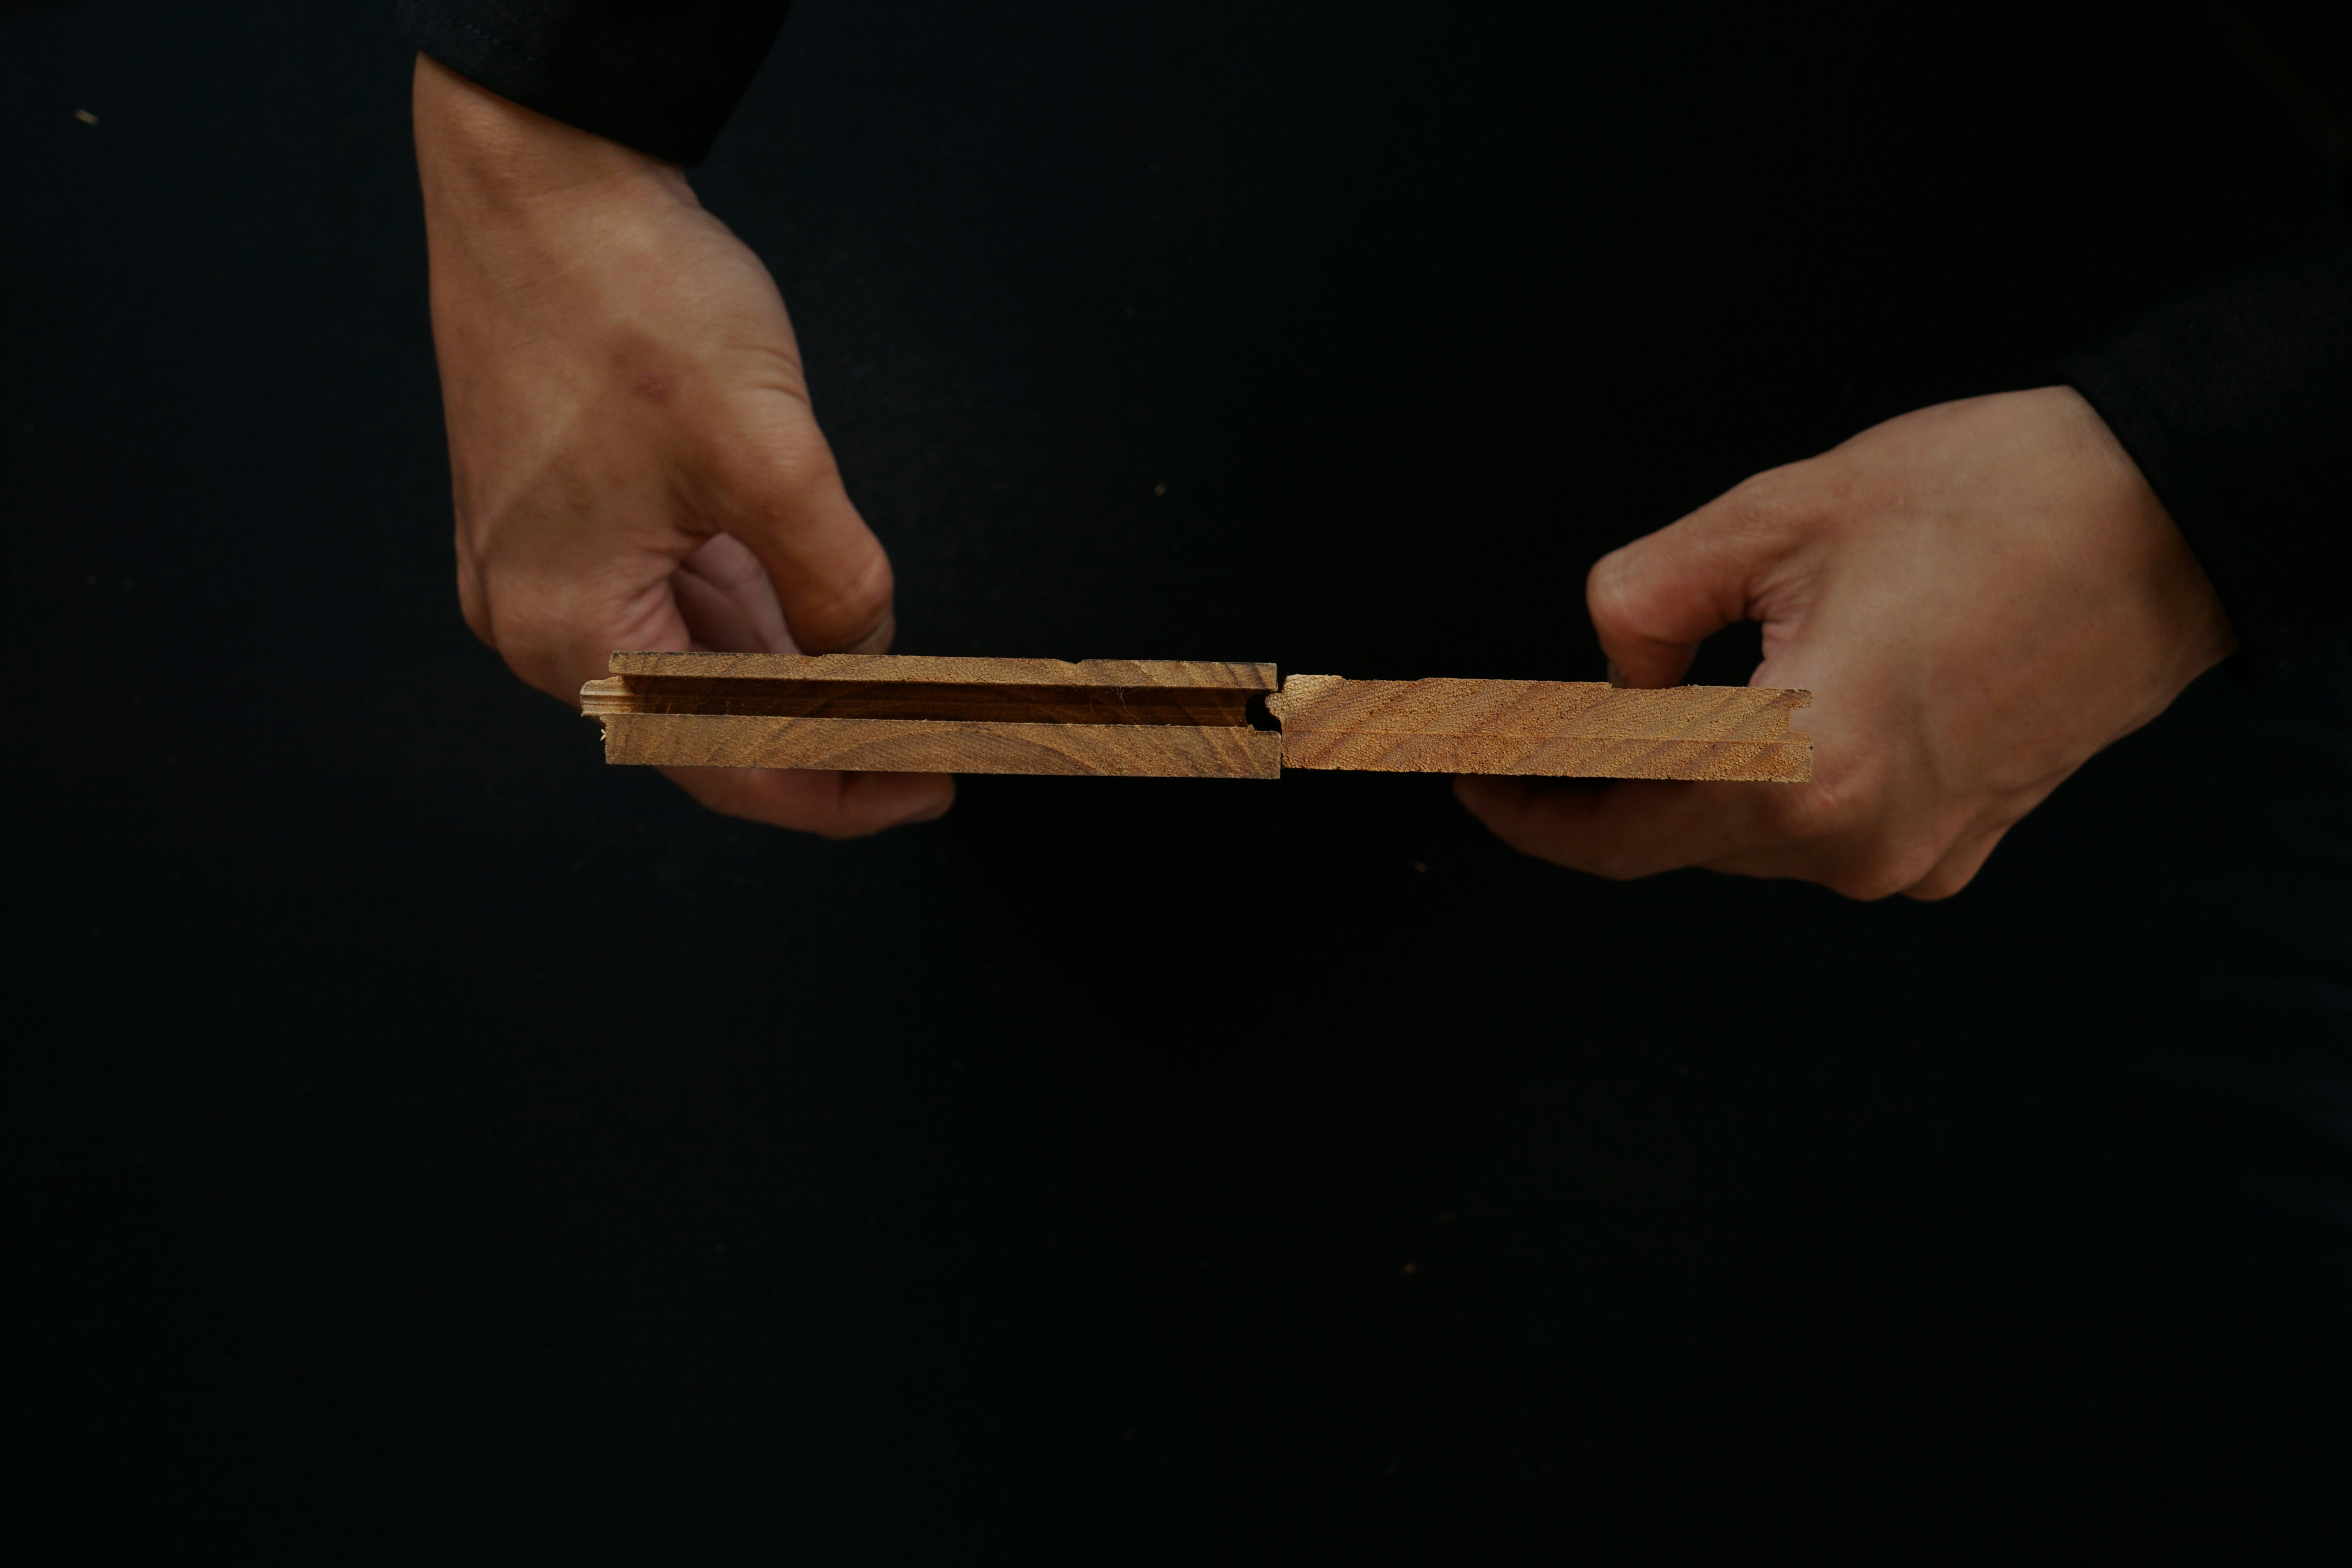
A timber stud wall is a non-load-bearing internal wall made from a framework of wooden studs and plasterboard. It’s a quick and affordable way to divide space inside a home without needing brickwork or heavy structural changes. You’ll often see them in extensions, loft conversions, or when creating extra rooms like en-suites or home offices.
Why Choose a Timber Stud Wall?
Timber stud walls are incredibly popular in the UK for several reasons:
-
Lightweight and quick to build
-
Easy to insulate (great for soundproofing and thermal performance)
-
Flexible — can be altered or removed as your needs change
-
Cost-effective compared to masonry walls
-
Perfect for running cables and pipes internally
Whether you’re a DIY enthusiast or working with a contractor, timber stud walls are practical and forgiving to build.
What Size Timber Is Best for a Stud Wall?
In the UK, these are the standard timber sizes used for stud walls:
-
38mm x 89mm CLS (Canadian Lumber Standard) – Most common for domestic, non-load-bearing walls
-
50mm x 100mm (2″x4″) – Ideal if extra insulation or strength is needed
CLS timber is treated, smooth-edged, and easy to handle, making it ideal for interior partitioning.
Pro tip: Timber sizes are often given as nominal sizes (before machining). Always check actual dimensions when buying timber.
Tools and Materials You’ll Need
Before you get started, gather these essential tools and materials:
Tools:
-
Tape measure
-
Spirit level or laser level
-
Saw (hand saw or circular saw)
-
Drill or screwdriver
-
Hammer
-
Set square
-
Safety goggles and gloves
Materials:
-
CLS timber
-
Screws or nails
-
Plasterboard sheets
-
Insulation (if needed)
-
Jointing tape and filler
-
Fixings for floor/ceiling (frame fixings or anchors)

Step-by-Step: How to Build a Timber Stud Wall
1. Measure and Mark Out the Wall
Use a measuring tape and chalk line to mark the exact location of the new wall on the floor, ceiling, and walls. Double-check for electrical wiring, pipework, or joists.
2. Fit the Bottom and Top Plates
Secure the bottom plate to the floor using screws or fixings. Then fix the top plate directly above it on the ceiling, ensuring they align perfectly.
3. Install Vertical Studs
Cut vertical studs to fit snugly between the plates. These are typically spaced at 400mm or 600mm centres, depending on the width of your plasterboard sheets. Use a spirit level to ensure each stud is perfectly vertical.
4. Add Noggins for Strength
Install noggins (horizontal timber blocks) between the studs to reduce movement and provide extra support for fixing plasterboard.
5. Add Insulation (Optional)
If you’re using the stud wall to separate rooms or improve energy efficiency, install acoustic or thermal insulation between the studs.
6. Fix Plasterboard
Screw plasterboard sheets onto the stud frame, staggering joints where possible. Cut openings for sockets or switches before fixing boards.
7. Finish the Wall
Tape over the joints, apply joint filler, sand it smooth, and finish with your chosen paint or wall covering.
Common Mistakes to Avoid
-
Incorrect spacing of studs – Leads to weak wall sections and tricky plasterboard fitting
-
Skipping insulation – Missed opportunity for soundproofing or thermal performance
-
Fixing without checking levels – Can cause doors or fixtures to sit crooked
-
Not allowing for wiring or plumbing – Plan service routes before boarding up
Regulations and Considerations
Although timber stud walls are usually non-structural, always:
-
Check with local building control if your wall affects fire safety or room classification
-
Follow UK building standards for fire-resistant plasterboard and moisture protection in wet areas
-
Use moisture-resistant plasterboard (green board) in kitchens and bathrooms
Final Thoughts
Timber stud walls are an affordable and effective way to transform your home. With basic carpentry skills and careful planning, you can create new rooms, add storage spaces, or simply improve layout and function.