
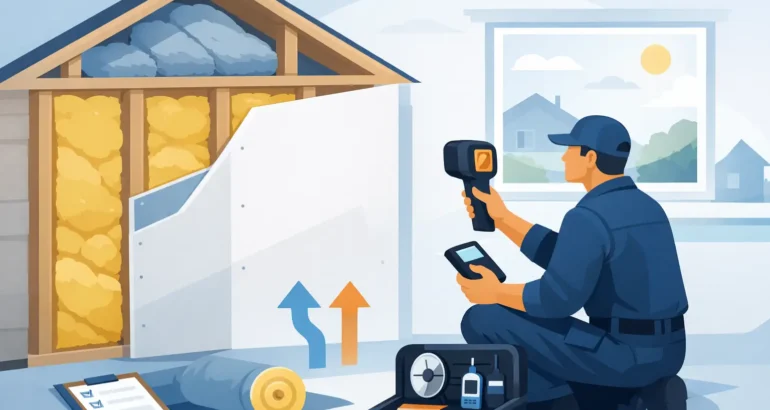
A new-build home can look immaculate at handover while losing more heat than it should through lofts, walls, floors, window reveals and service penetrations. To test new home insulation properly, you need more than a hand placed against a cold wall. You need to distinguish between normal surface-temperature variation, ventilation requirements and defects that may affect comfort, energy use and compliance.
For buyers across the Midlands and South Yorkshire, early testing creates a clear record before minor concerns become a dispute. If insulation is missing, poorly fitted or bypassed by uncontrolled air leakage, the developer should have an opportunity to investigate and put the issue right. Independent, evidence-led findings make that conversation far more straightforward.
What a new home insulation test should establish
Insulation is not simply a layer hidden in a loft or cavity wall. A home’s thermal performance depends on continuity. The insulation must be installed to the intended specification, sit tightly against adjoining elements and remain effective around junctions, openings and services.
A useful assessment therefore considers three related issues: whether the insulation appears continuous, whether heat is escaping at predictable weak points and whether uncontrolled draughts are undermining the building fabric. A cold area does not automatically prove inadequate insulation. It may be caused by thermal bridging, air movement, moisture, an unheated adjoining space or external weather conditions. The purpose of a professional inspection is to identify the likely cause and document it accurately.
This matters because the Building Regulations requirements that applied when your property was built, including energy-efficiency standards under Part L, are based on the home performing as designed. Poor installation can reduce real-world performance even where the correct materials were specified.
When to test new home insulation
The best timing depends on what you need to establish and whether you have completed on the property.
Before legal completion, a pre-completion inspection can identify visible workmanship concerns, such as incomplete loft insulation, gaps around hatches or poorly sealed openings. Access can be restricted at this stage, and a developer may not permit every form of testing. However, visible defects can still be raised before you take ownership.
After completion, a thermal imaging heat loss survey is often most effective during colder weather, when there is a meaningful temperature difference between indoors and outdoors. In practical terms, this usually means heating the home normally beforehand and carrying out the inspection in suitable conditions. Strong sunshine, heavy rain and gusty winds can affect readings, so survey timing matters.
The period before the end of the builder’s two-year warranty is another important opportunity. By then, you may have lived through at least one heating season and noticed cold rooms, persistent draughts, high heating bills or condensation. A 2-year warranty inspection can bring those issues together with other defects in a structured report for the developer.
Start with the signs you can see and feel
Homeowners are often the first to detect a performance issue. A room that never reaches the same temperature as the rest of the house, a cold strip along a skirting board or a draught around a socket can all justify closer inspection.
Look carefully at the loft, where access is safe and permitted. Insulation should generally be evenly laid, without obvious bare patches, compression or voids at the eaves. It should not obstruct designed ventilation paths, cover electrical equipment inappropriately or be packed around recessed fittings without regard to fire safety. Do not pull insulation back, enter unsafe roof spaces or disturb services to investigate further.
Inside the home, pay attention to external corners, window and door reveals, ceilings beneath roof spaces, floor edges and locations where pipes or cables enter walls. These are common junctions where workmanship and airtightness details matter most. Mould or condensation should not be assumed to be an insulation problem, but it should not be ignored either. It may point to cold bridging, excessive moisture, inadequate ventilation or a combination of factors.
Keep a simple record of what you observe. Note the room, date, weather conditions, thermostat setting and the nature of the concern. Photographs of visible gaps or damaged insulation can help, but they are not a substitute for diagnostic evidence.
How thermal imaging helps test new home insulation
Thermal imaging uses an infrared camera to show surface-temperature patterns. It can reveal anomalies that are not apparent to the eye, including cold bridging, air leakage paths and areas that warrant further investigation.
In a new-build property, a thermal survey may identify cooler patterns at roof junctions, around loft hatches, beside windows, at external wall corners or around service penetrations. It can also help separate a localised issue from a broader pattern across an elevation or room.
The camera does not see through walls and cannot, by itself, confirm the thickness or type of insulation concealed within them. It records surface temperatures, not a direct image of insulation. That distinction is vital. A competent surveyor interprets the image alongside site conditions, construction details, visual findings and moisture risk before reaching a conclusion.
For the clearest results, surveys should be undertaken with appropriate internal and external temperature conditions and with the property heated in a normal, consistent way. This reduces the risk of misleading conclusions. A thermal image taken at the wrong time can be interesting, but it may not be reliable evidence.
Do not overlook air leakage and thermal bridging
Many new homeowners use the word “insulation” to describe any heat-loss issue. In practice, the cause may be air leakage rather than missing insulation.
Air leakage occurs when warm internal air escapes through unintended gaps. Typical locations include loft hatches, pipe penetrations, poorly sealed window frames, extract duct routes and gaps behind kitchen units or boxing. The result can be cold draughts and uneven temperatures, even where insulation levels are adequate.
Thermal bridging is different. It occurs where a building element conducts heat more readily than the insulated areas around it. Common examples include structural junctions, lintels, floor edges and window reveals. Some thermal bridging is anticipated in building design and should be controlled through correct detailing. Pronounced or irregular cold areas may suggest that detailing or installation needs checking.
These distinctions matter when approaching a developer. A report that simply says “the room feels cold” is easy to dismiss. A report that records the location, conditions, thermal pattern, likely mechanism and recommended further action gives the developer a practical route to investigate.
What evidence to request from your developer
If you are concerned about performance, ask for information that relates to your specific home rather than relying on a generic sales brochure. Depending on the construction and stage of the build, relevant records may include the Energy Performance Certificate, design specifications, commissioning information and details of any air-pressure testing completed for the development.
The EPC is useful but has limits. It is an energy assessment, not a defect report, and it does not prove that every insulation detail was installed without faults. Likewise, a passed air test for a plot or sampling regime does not rule out localised gaps, workmanship defects or cold bridging in your property.
Raise concerns in writing and attach photographs, a dated log and an independent inspection report where available. Be specific about the affected areas and the remedial outcome you are seeking. For example, request an investigation of a cold loft-hatch perimeter or draughting around a particular window, rather than making a broad allegation that the house is poorly insulated.
When an independent survey is the right next step
A professional heat loss survey is particularly valuable where concerns persist after an initial developer response, where visible defects are disputed or where you need evidence before the warranty period ends. It can also be combined with a snagging survey or back-snagging inspection, allowing thermal concerns to be considered alongside workmanship, ventilation and general construction defects.
At New Homes Inspections, findings are recorded clearly so homeowners can present practical, evidence-backed issues to their developer. The focus is not on producing alarming images. It is on identifying what the evidence supports, what requires further investigation and what remedial work should be considered.
If your new home feels colder than expected, act while the evidence and warranty routes are still available. A properly timed inspection can turn an uncertain concern into a documented issue the developer can address, helping you protect your investment and live in the home with greater confidence.